The good news is that tape-ins are typically the easiest to remove because of how gentle the application process is on the hair.
I prefers tape-ins because I feels they present less wear and tear while they’re installed and during removal.
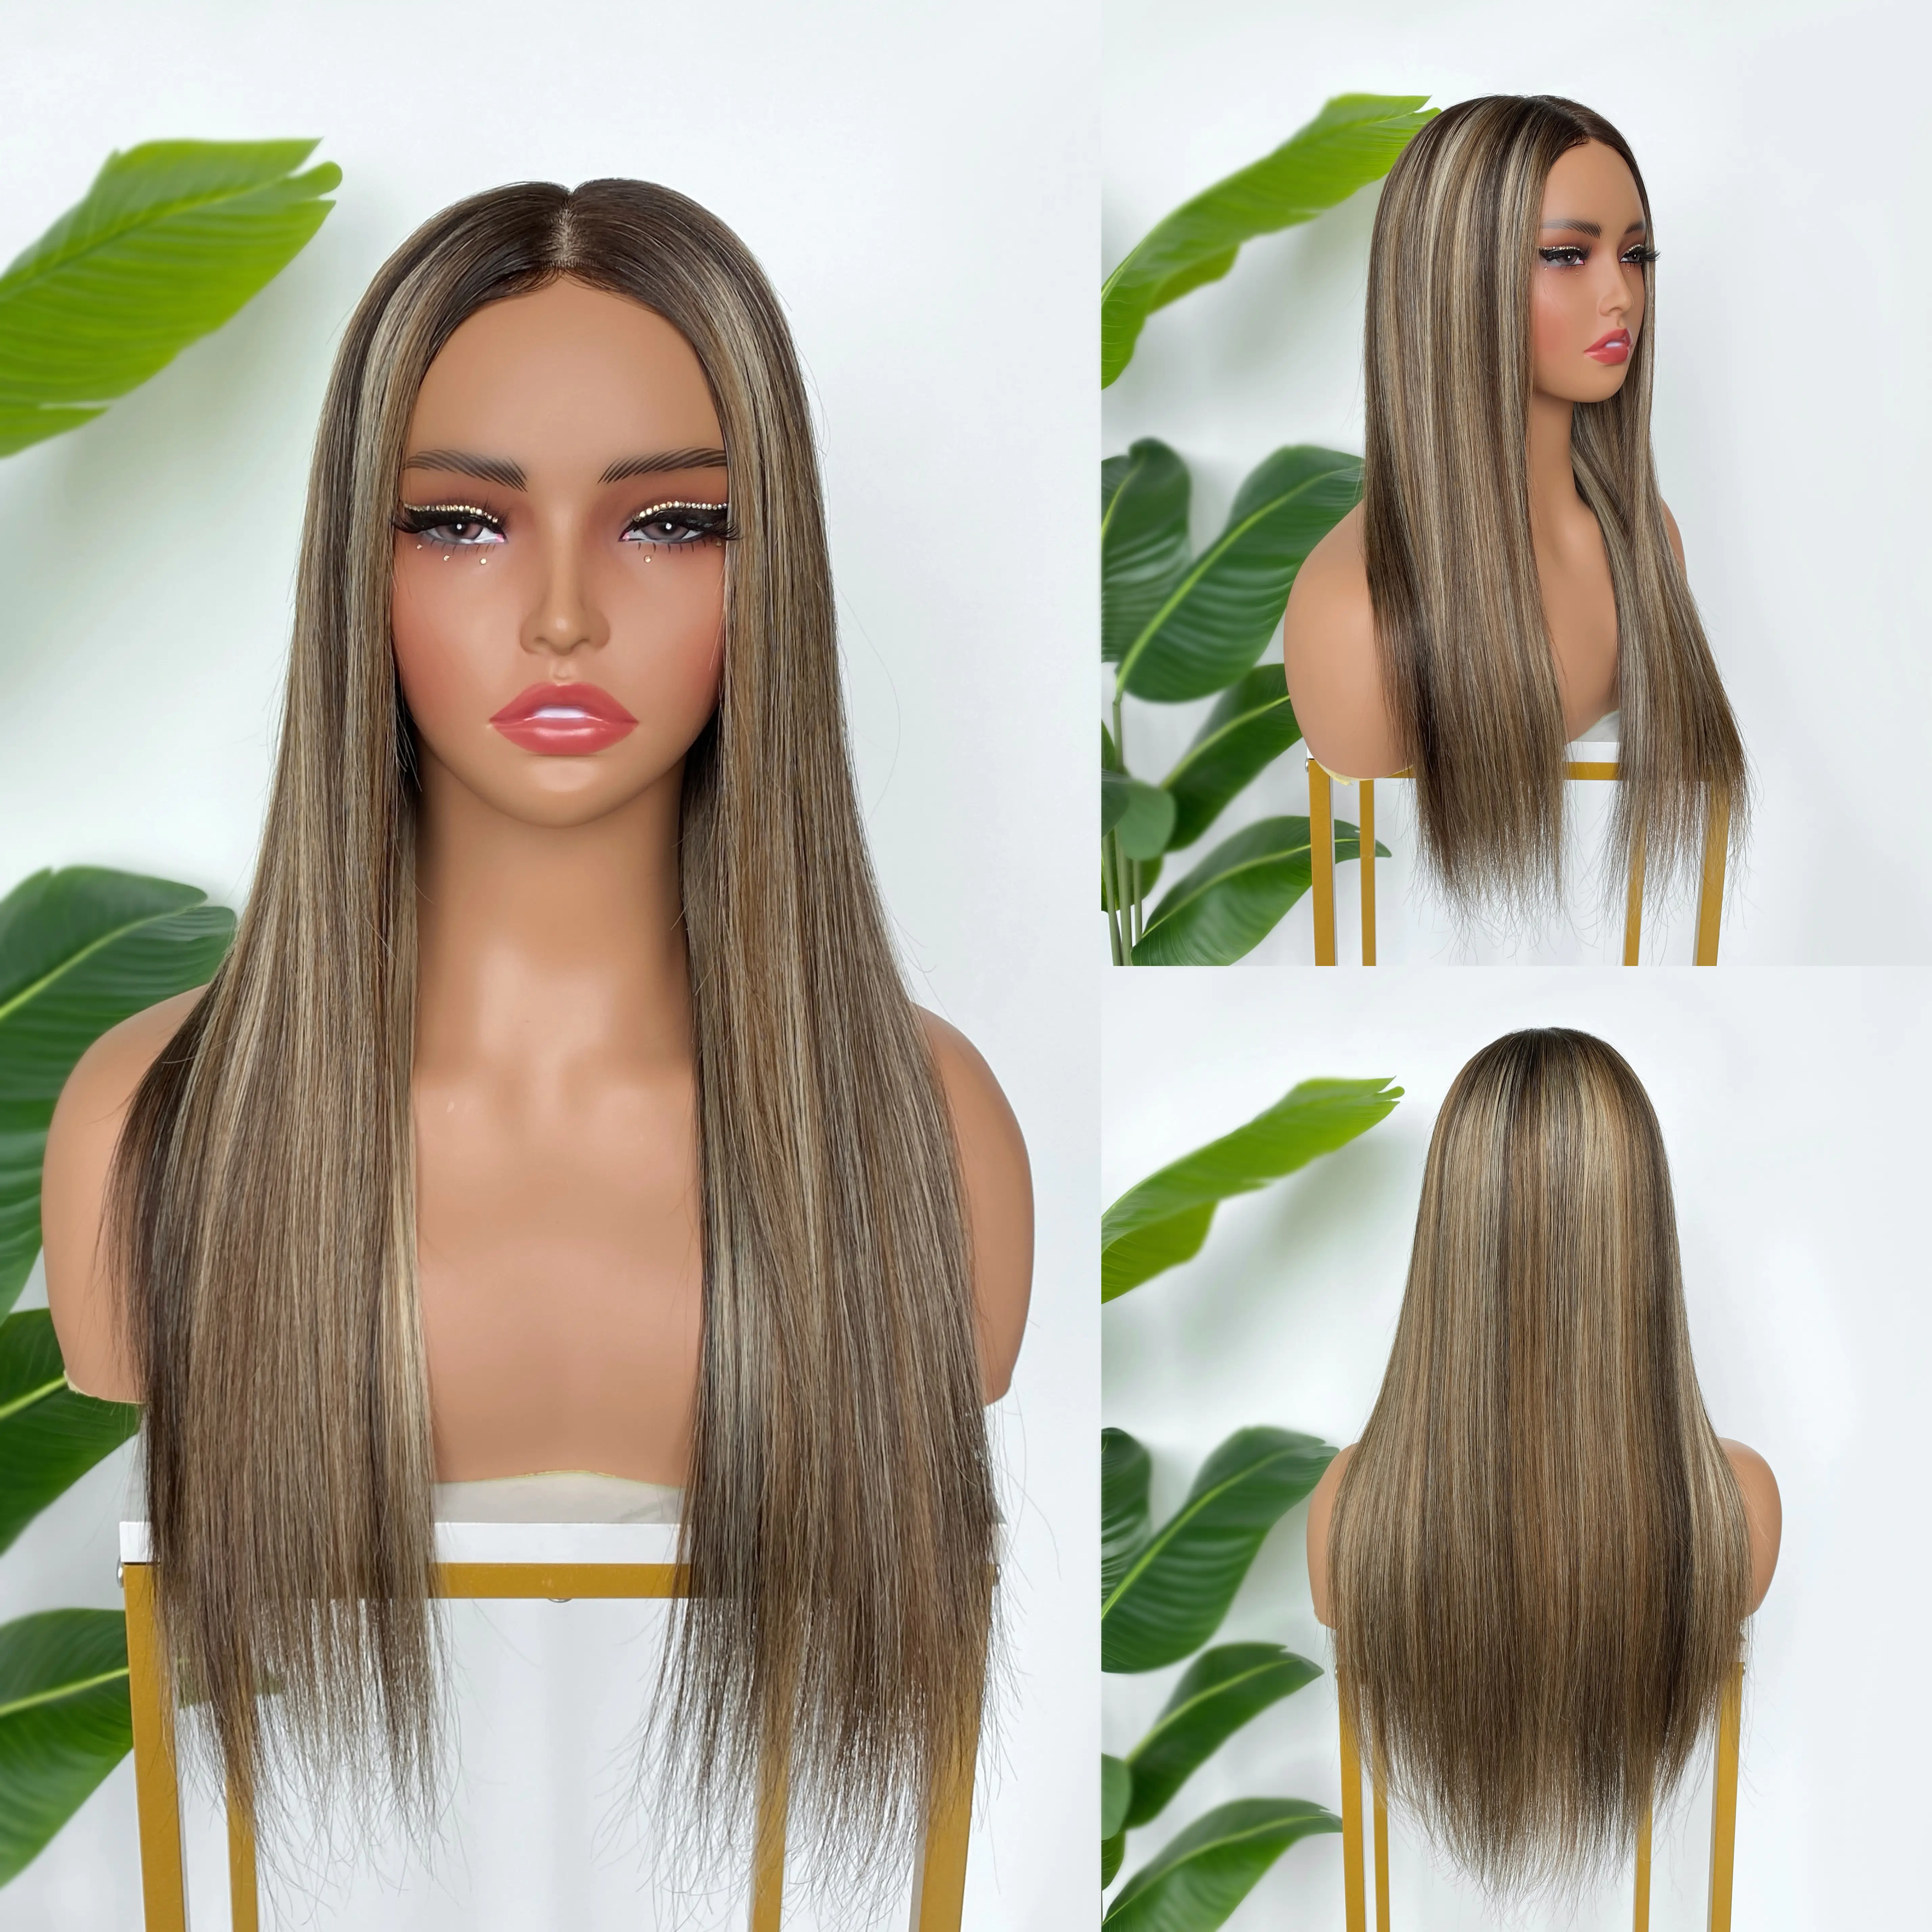
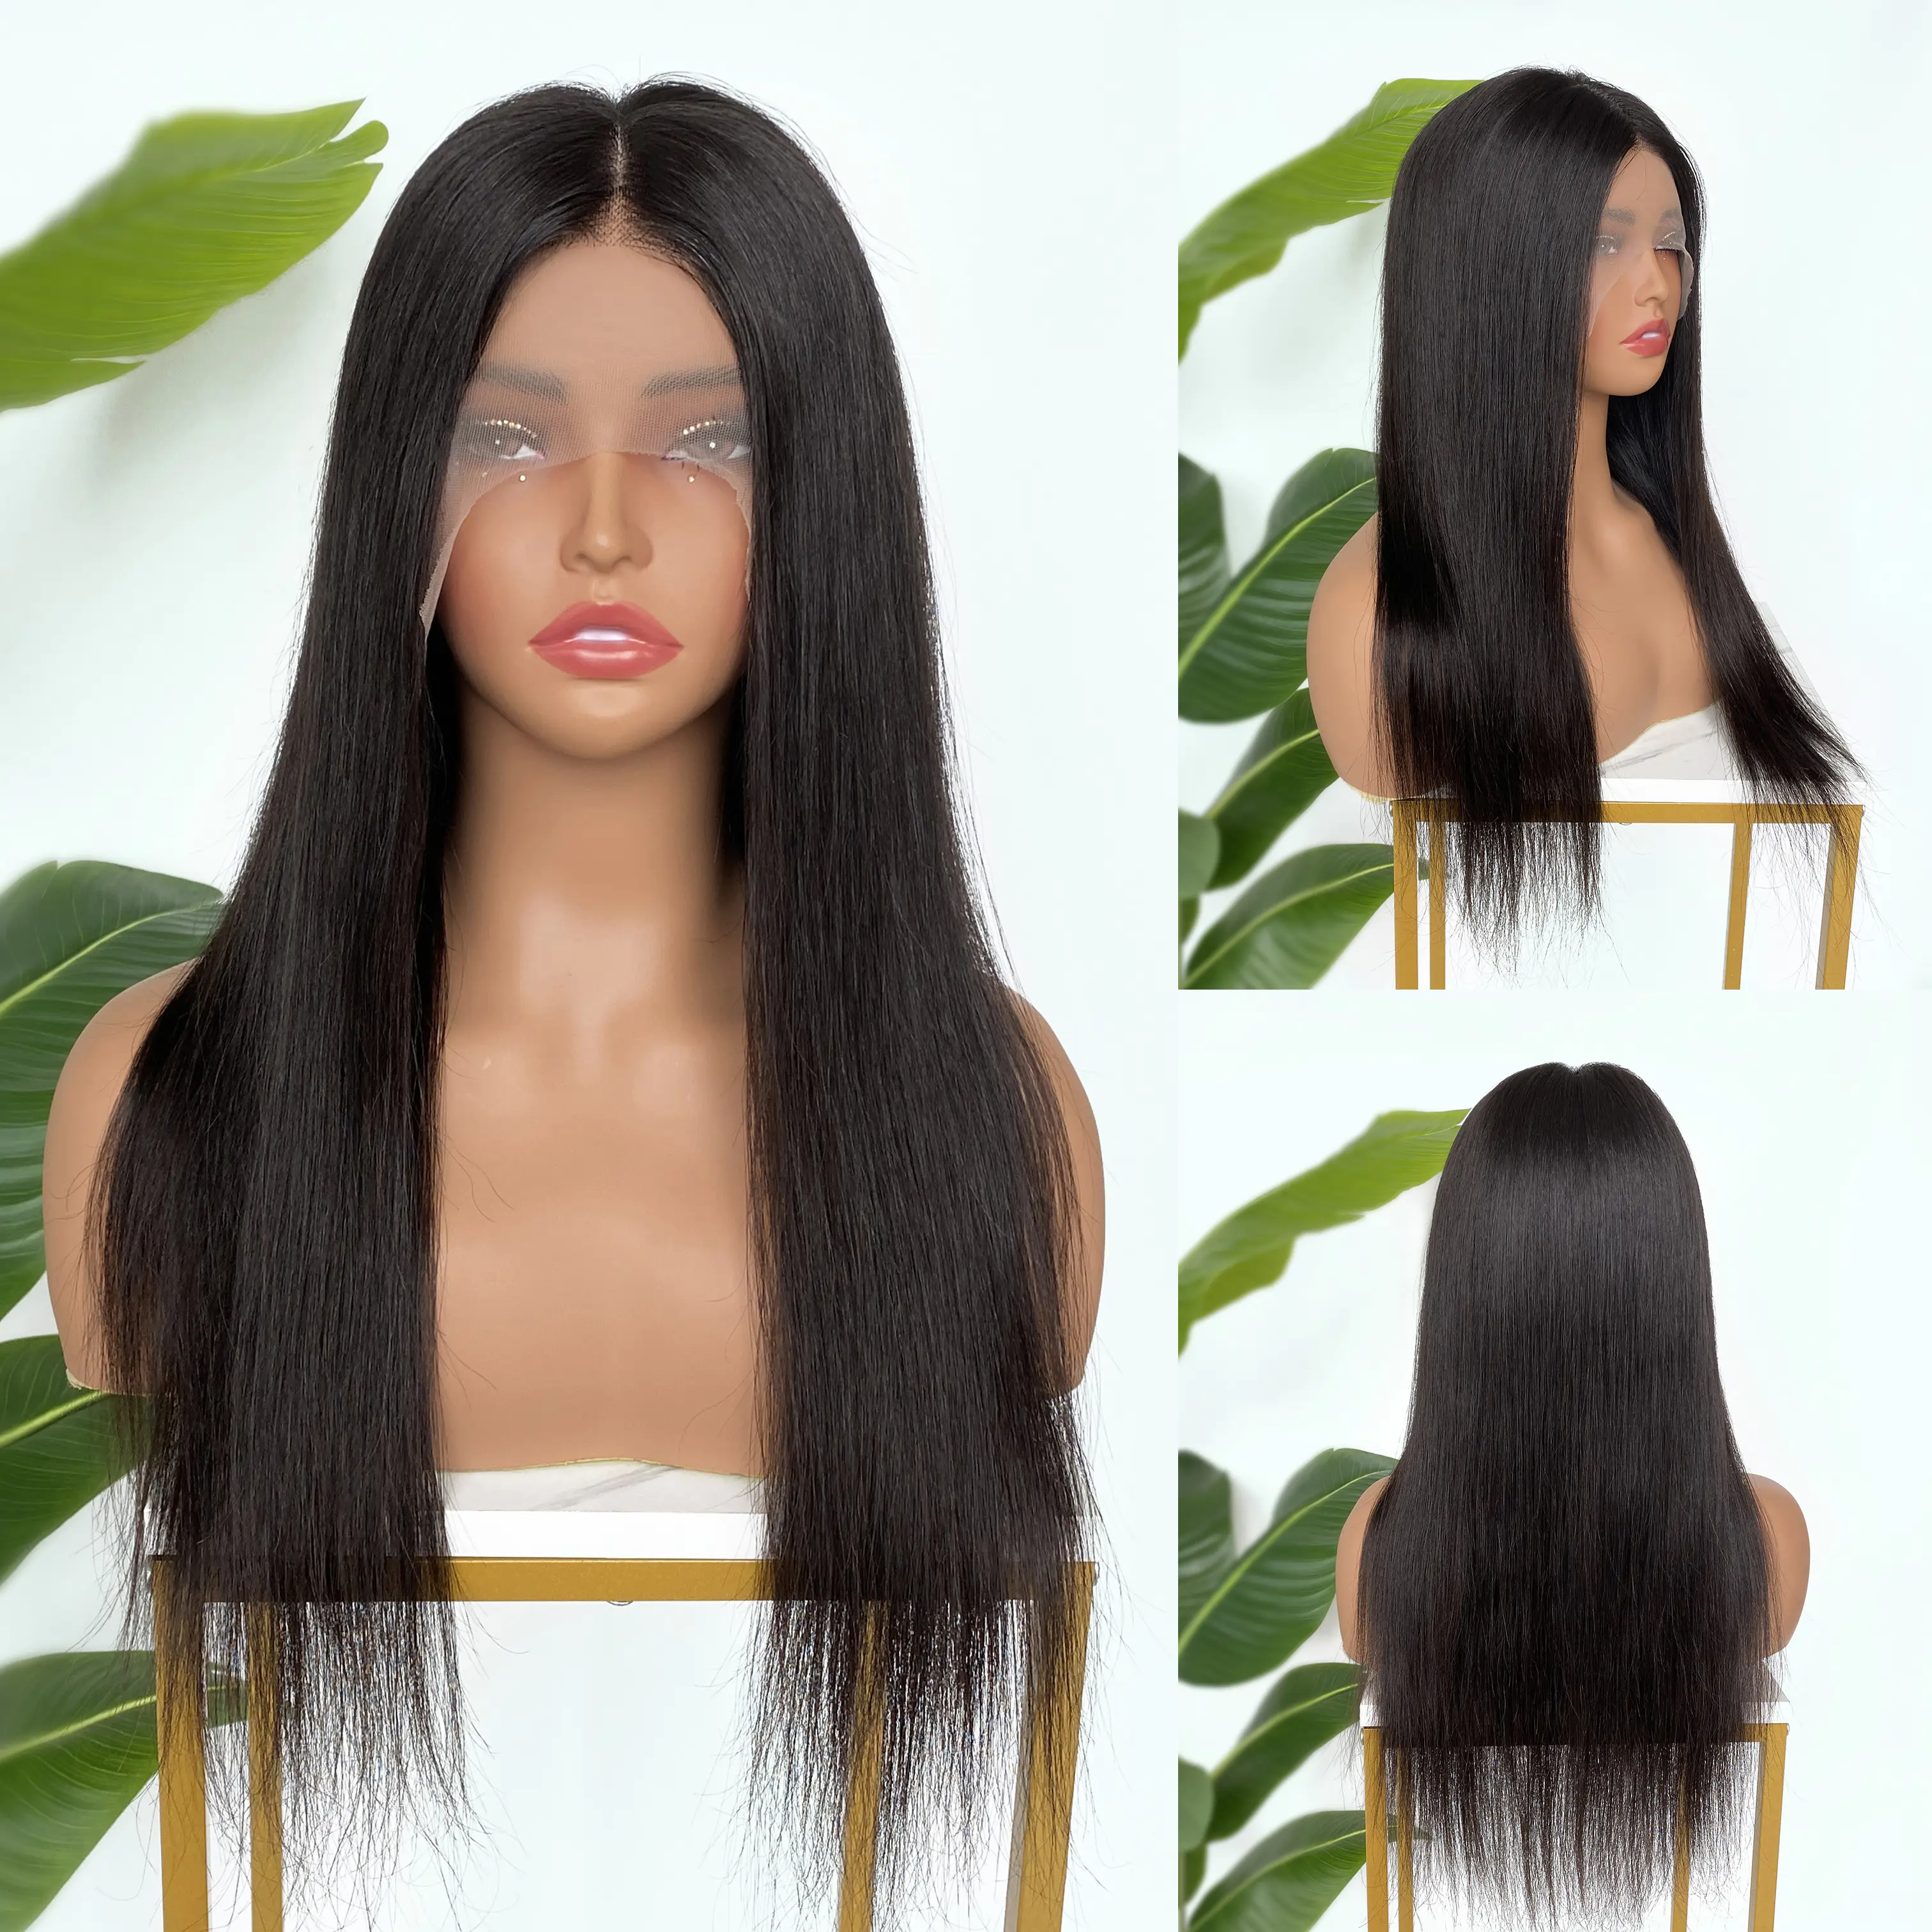
This type of extension is applied using double-sided tape, which is attached to a small section of your own hair.
The extensions are applied on top and underneath that hair, a technique I refers to as the “sandwich” method. Alternatively, a single weft of hair can be applied alone to a section of your real hair using the tape with a backing placed underneath to seal it in place. It is recommended that tape-in extensions be removed and reinstalled every eight weeks.So while they do need more maintenance, they’re also easier to take out.
Well, you can use hand sanitizer to remove the tape-ins. Or rubbing alcohol.
The gel remover is made of 70% is opropyl alcohol, glycerin, and aloe, which is found in hand sanitizers.
Also recommends anything super emollient. Shine products can help break up the tape, as can oils that are used to smooth the hair cuticle or repair split ends.
The key is to fully saturate the band and massage the product in.
Put the oil onto the extension band itself, so you can marinate it. Move it around so it comes loose. You’ll massage the tape until it gently peels off the hair and slides down and off the hair cuticle.
There may be remnants of tape left in the hair and there might be hair that collected at the root — the hair you naturally shed through out its growth cycle. It’s essential to comb out the hair to prevent matting.
Start from the bottom of the hair and work your way up. Don’t start from the top and run it through.There will be some tangles, so work those tangles out first and work it all the way through to the top. If the comb doesn’t go through, add a little more of the product.
You’re basically spreading it into your own hair so it will be slippery. This makes it easier to comb through.